Add a parallaxing animation to any image asset within your unit to create a dynamic, gliding image on user scroll!
Resources:
Explore our Ad Gallery for examples of Parallaxing units
In this article, you will learn:
How to to Add a Parallax Scroll Animation to an Asset
How to Configure the Parallax Scroll Animation Settings
How to to Add a Parallax Scroll Animation to an Asset
Below you will find a step-by-step process to create a Parallax Scroll animation.
- This article will walk you through building an ad using the Banner Format with a Parallax Animation set on the background image. Also see Animations and Parallax Carousel articles for more examples.
- First, prepare your assets. The Background image should be taller than your container height so it can "parallax scroll" up and down when a viewer moves on the page. Any other assets like logos, text, etc. should be supplied as their own individual .png or .jpg files saved on a transparent background.
- Open the builder and create a New File – choose “Banner” as the Format and put in the canvas dimensions and a backup image/click url (these can also be added later within the builder).
* Note - For this example, our container on the site is 2400px wide by 600px in height, so that is what we will make the canvas size.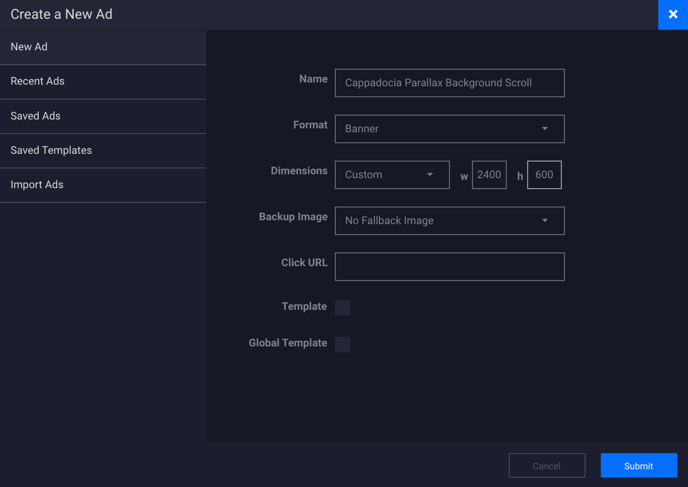
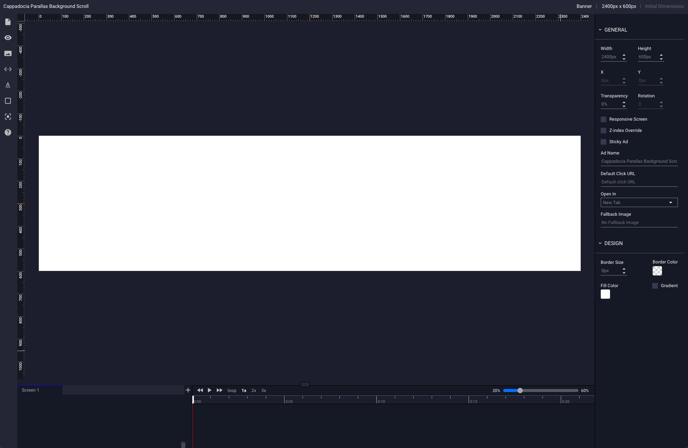
- Hit the "submit" button, and your blank ad canvas will appear within the builder:
- Upload your assets to the canvas by clicking on the landscape icon
 located within the left hand side tools panel. Your asset menu will appear:
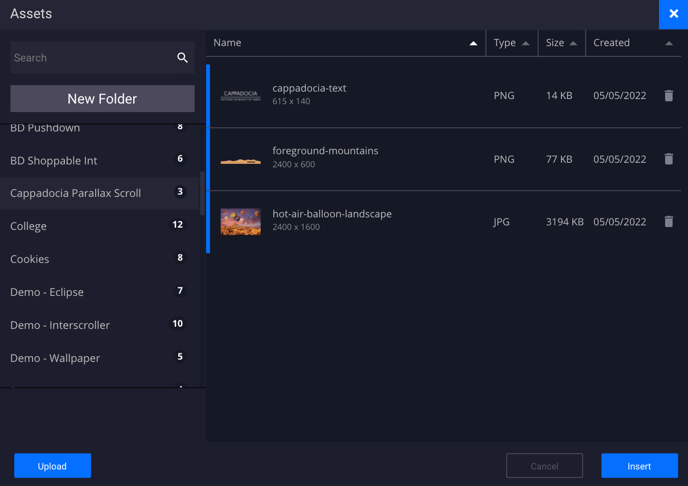
- Once you have selected your assets, click the "Insert" button, and all of your asset layers will appear on your canvas:
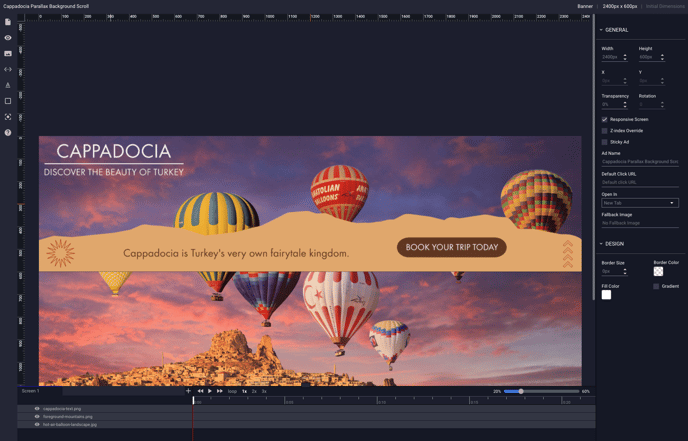
* Note - You will want your background image to be taller than your canvas (in this example, taller than 600px), so there is "overflow" imagery that shows when parallax scrolling. See above image, and how the background image extends off of the canvas. - Arrange your assets on the canvas. You can rearrange layers in the layers panel by clicking and dragging the layer up or down the list:
Before:
After: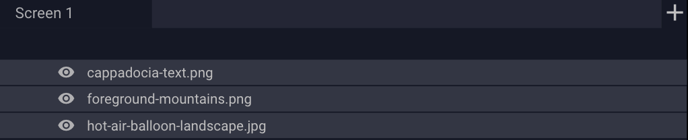
* The "cappadocia-text.png" layer has been moved above the "foreground-mountains.png" layer. - You can also hide layers by clicking on the eyeball icon located to the left of the layer:
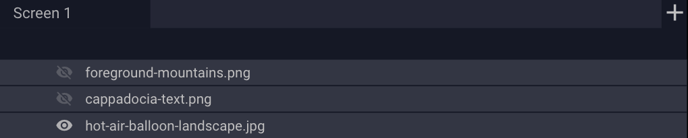
* In this example, we've hidden the "cappadocia-text.png" and "foreground-mountains.png" layers for now, so it is easier to see the background image layer alone ("hot-air-balloon-landscape.png"). You can unhide them once you are finished configuring the background scroll animation. - Place your background image so that the bottom edge of the image is at the bottom edge of the canvas:

* For this example, we want the background image to parallax scroll down, so we'll need to ensure that there is more of the image to view on scroll above the canvas. - Select the background image layer, then navigate to the left side of the Builder in the Tools panel, and click on the Animation icon.
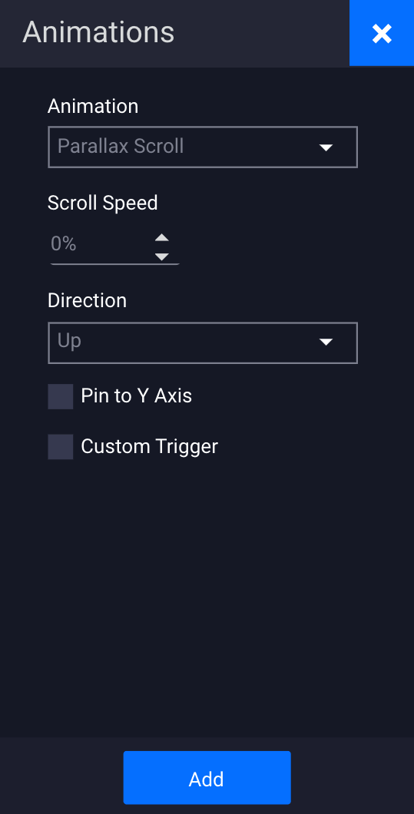
 The “Animations” screen will appear:
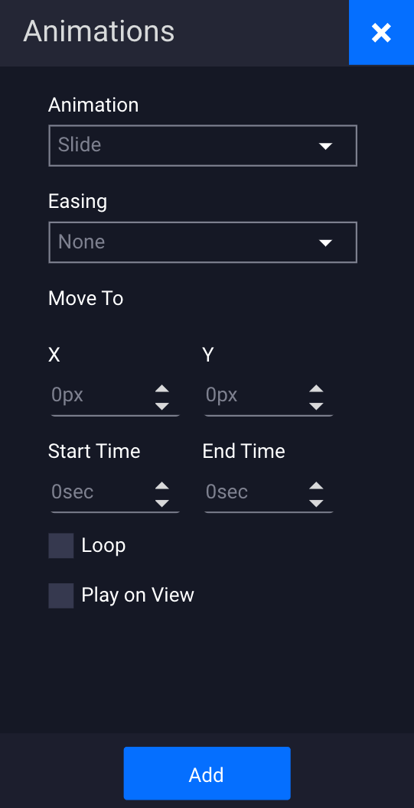
- Click on the dropdown menu in the first field (under "Animation") and choose Parallax Scroll:
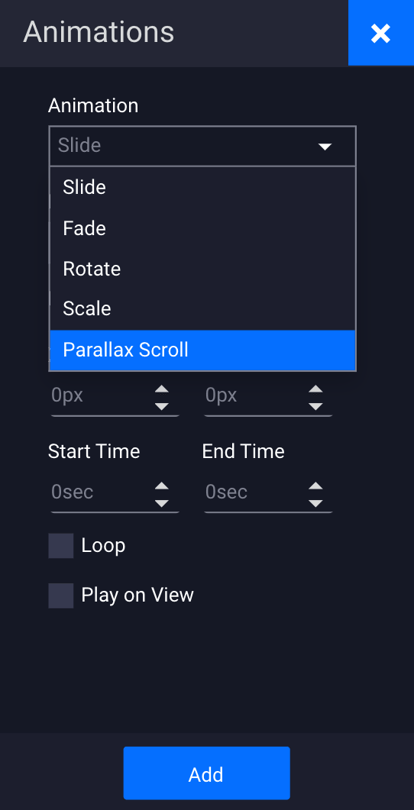
- Once selected, you'll see options to change the Scroll Speed, Direction, Pin to Y Axis, and Custom Trigger point.
How to Configure the Parallax Scroll Animation Settings
| Scroll Speed | How fast your image will move. (percentage) |
| Direction | Choose the direction that the image will move - Up, down, left or right. |
| Pin to Y Axis | If selected, this will pin the image to a Y Axis point on the canvas, where your image will stop scrolling. You can also choose to not select this. |
| Custom Trigger |
If selected, you can set a custom trigger point for where the parallax animation begins on the page. * See additional notes below. |
Custom Trigger
- If left unchecked, by default the builder will set the trigger point (start of animation) at 90% from the top of the page OR the top of the ad container (whichever is higher). The trigger point will display on the preview page for you to check, however, it is recommended to test on a live page.
For help identifying or troubleshooting site/trigger point settings, please contact support@adventive.com
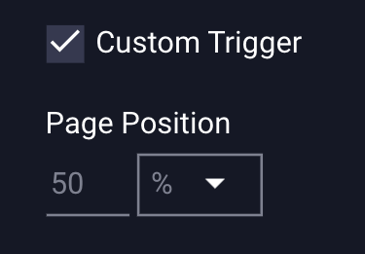
- If you select the Custom Trigger, you can set the page position in percentage or pixels. For example, if you plan to run this ad 30% from the top of your site, you can set this as the custom trigger point and it will show the start and end points where the animations happen in preview according to your settings.
* Note - If you select the Custom Trigger point for just one animation, it will set the same trigger point for the rest of your animations (unless you define each one).
- In this example, we set the Parallax Scroll animation options as below:

- We set the Scroll Speed to start off as 100% (this is just an estimate).
- Later, once it is trafficked to a test site, we can come back into this animation to edit the speed by right clicking or command/ctrl clicking on the red animation bar at the bottom of the builder:

- When you click on “Edit”, the following screen will appear:

- Make any necessary changes and click “Apply”.
- You will need to preview the ad to see how fast it is scrolling, and make adjustments according to your customer’s feedback.
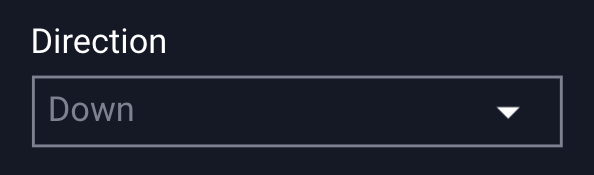
- We set the direction as Down so the background will scroll down:
- In this example, we didn't Pin to a Y Axis because we want our background to keep scrolling - but if you wanted it to stop parallaxing - you could select this and specify where on the canvas it should stop.

* Note - To figure out the “Pin to Y Axis” – place the asset on the canvas where you want it to end up, and look at the Y axis it is placed at in your General Properties Panel, located at the top right of the builder: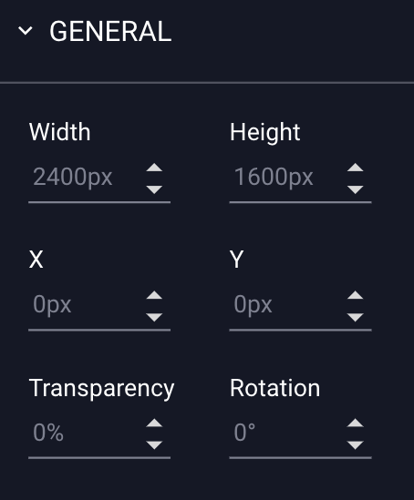
- We set the Custom Trigger Page Position to 50% for this example. Again, depending on where your container is placed on your site (percentage/pixels from top of the site), you may need to come back in and adjust the parallax trigger point later.
- Be sure to save your ad along the way - you can Preview
 the ad to test it at any point (it's best to set it up in a campaign/traffic to a test site to test).
 - Once saved, navigate to your campaign and you republish the unit by clicking on the republish icon at the top of the campaign:

* Note - This will ensure that your changes take effect in the trafficked tag and on your test site. Once republished, refresh your test site to see the changes applied. - More information on updating inflight campaigns can be found within our knowledge base article Updating Inflight Campaigns.
- If more edits are necessary, go back into the ad, right click on the parallax animation, make the updates, save, and republish. Repeat as necessary.
Check out the Cappadocia unit within our ad format's gallery below:
Cappadocia Parallax Background Scroll